- Published on
Navigation Website Implementation
- Authors

- Name
- Johnson Chang
Example site based on this navigation theme: https://nav.iowen.cn
Preparations before installing WordPress:
- Configure WordPress runtime environment:
- Install MySQL
- Install Apache2
- Install PHP
- Install connection libraries for Apache2, MySQL, and PHP
Since WordPress needs to use the MySQL database, we'll enter MySQL as the root user to create a database for WordPress:
Create database and user using MySQL root account:
- Create database:
create database wordpressdb; - Create user:
create user wordpressuser; - Create password:
set password for wordpressuser="wordpress123"; - Grant database privileges to the newly created user:
grant all privileges on wordpressdb.* to wordpressuser;
WordPress Installation and Configuration Process:
1. Download and Copy WordPress
First download WordPress version 4.4 or above: https://wordpress.org/wordpress-5.6.10.tar.gz
Extract using command:
tar -zxvf wordpress-5.6.10.tar.gz
Copy all contents from WordPress to /var/www/html/:
sudo cp -r ./wordpress-5.6.10/* /var/www/html/
Then grant permissions to /var/www/html/:
sudo chmod 777 /var/www/html/
2. Configure WordPress
Run 127.0.0.1 in browser to enter WordPress configuration page.
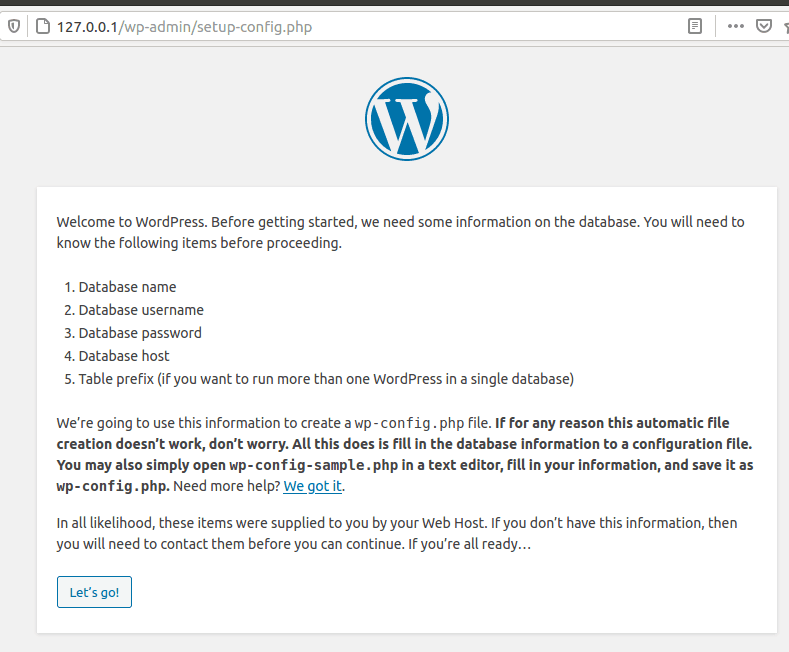
Figure 1: Configuration Initial Page
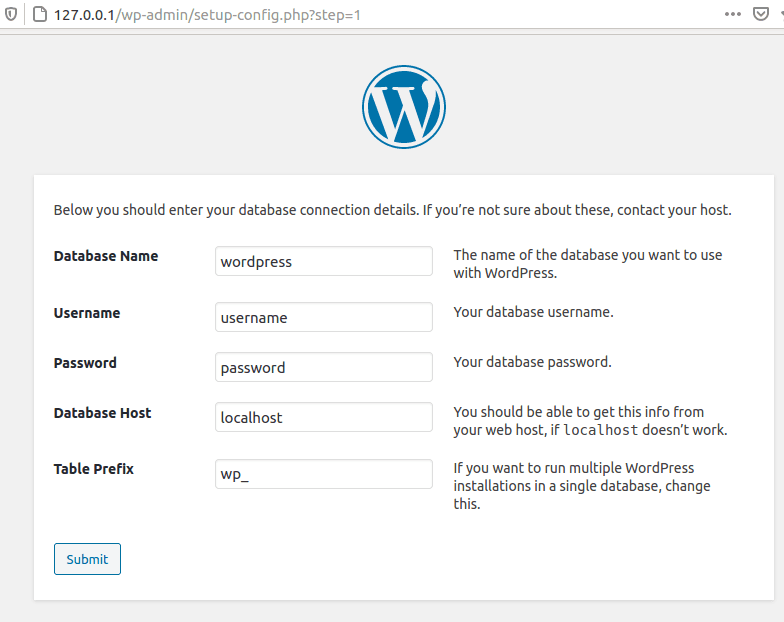
Figure 2: Fill in database name, username and password, leave the other two as default
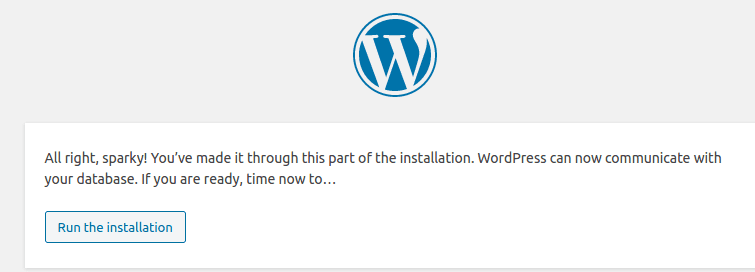
Figure 3: Installation Process
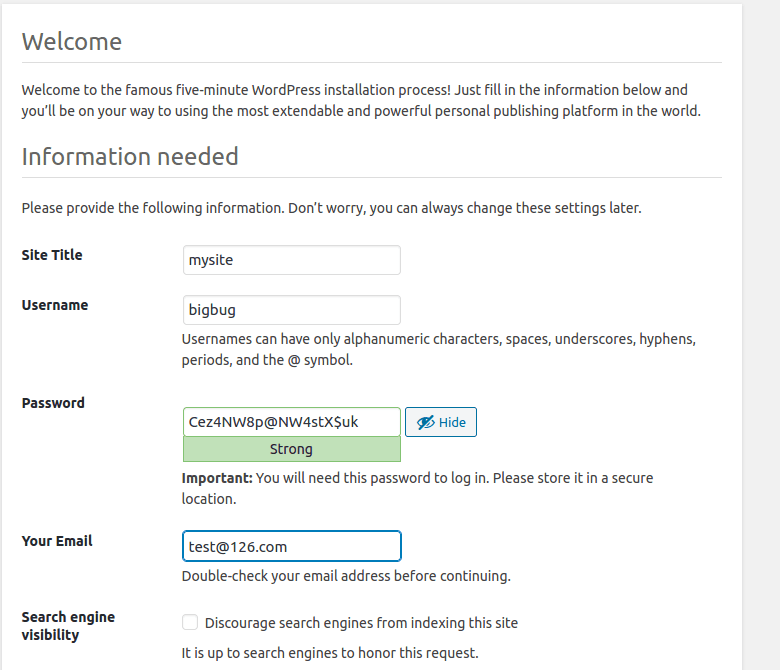
Figure 4: WordPress username and password configuration

Figure 5: Login with username and password from Figure 4
Now entering 127.0.0.1 in the browser will take you to the WordPress homepage, which uses the default template:
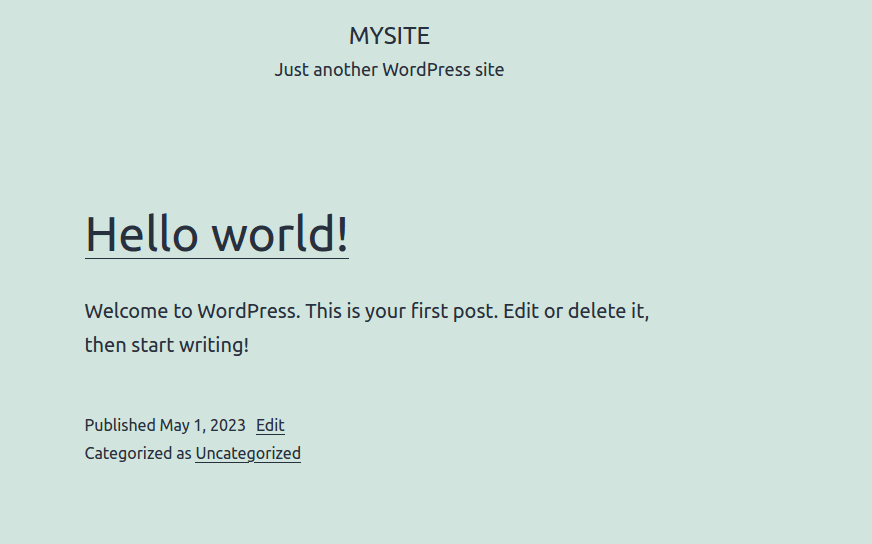
Figure 6: WordPress homepage
3. Install New WordPress Template
WordPress templates are mainly stored in the /wp-content/themes directory, and each template has its own folder.
So you first need to place the template files you want to use under /themes, then enable the new template in the WordPress backend:
- Log in to WordPress backend
- Appearance -> Themes -> Find the template you want to enable and activate
For example, the template we want to use: GitHub - owen0o0/WebStack: WordPress Version WebStack Navigation Theme https://nav.iowen.cn
After downloading using git clone and performing the above operations, finally enter 127.0.0.1 in the browser to get the following interface.
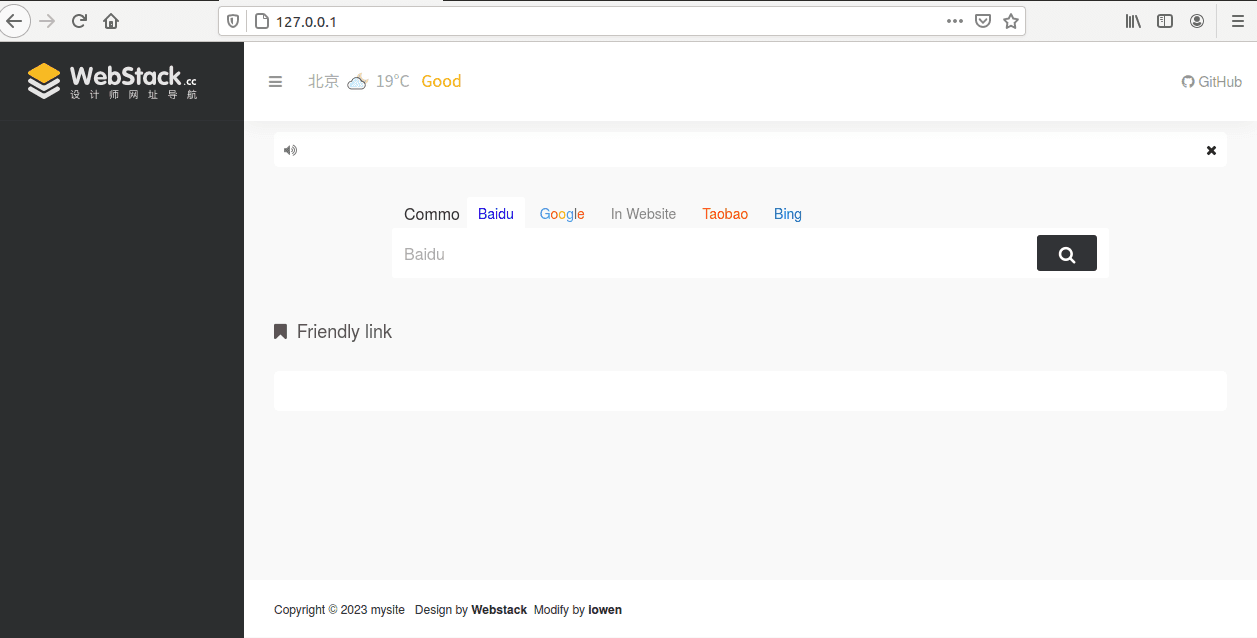
Figure 7: Using WebStack template
4. Simple Configuration for the New Template
Below you can make simple customizations to the WebStack template in Figure 7, such as:
- Remove the GitHub icon and link from the top right corner
- Remove the "Beijing" weather from the top left corner
- The search box in the middle seems a bit redundant, only keep the site search tags, delete other unnecessary items
- Imitate webstack demo site | Another WordPress Site (iotheme.cn) to add some example tabs and check the effects
References:
- Installing and Deploying WordPress (Ubuntu) (ppmy.cn)
- How to install wordpress templates (wordpress modules) - Shunshi Blog (shunshiseo.com)
Open source projects for reference:
GitHub - WebStackPage/WebStackPage.github.io: ❤️Static Responsive Website Navigation - webstack.cc
For the WordPress version from the above open-source site:
GitHub - owen0o0/WebStack: WordPress Version WebStack Navigation Theme https://nav.iowen.cn