- Published on
Building custom domain email service with Cloudflare and Brevo
- Authors

- Name
- Johnson Chang
When you register a domain, you usually want an email address with that domain suffix to send and receive professional-looking emails.
As an example, I'll use my domain registered on Cloudflare to demonstrate how to set up an email service like contact@johnstool.net using Cloudflare + Brevo + Gmail.
The email service includes both receiving and sending functionality. For receiving emails, you can use Cloudflare's free email routing service, which forwards all emails sent to contact@johnstool.net to my Gmail address.
Step-by-Step Setup for Incoming Mail
- Log in to Cloudflare Dashboard → Email → Email Routing
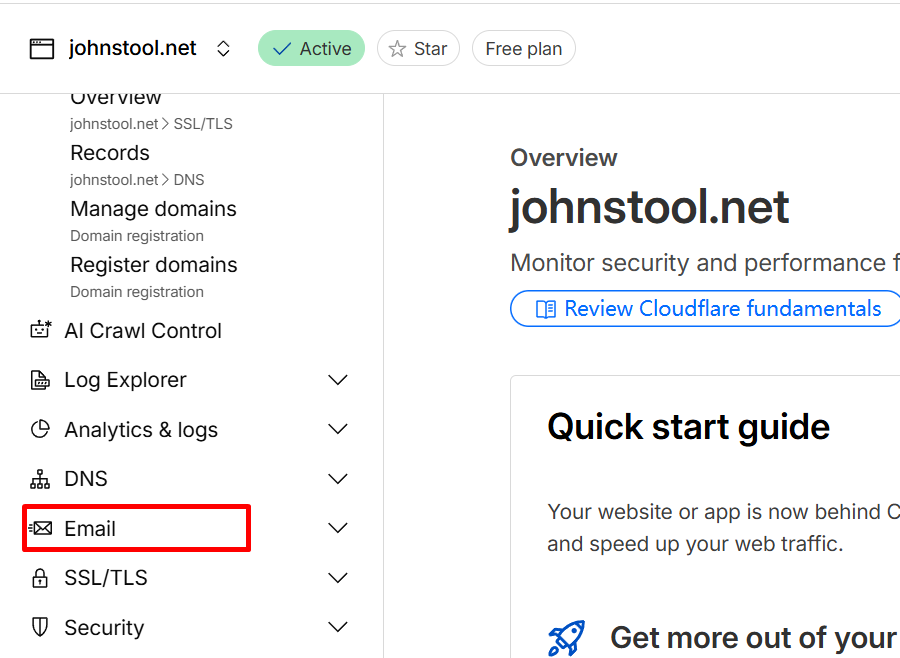
- Add a rule to configure a custom address (in my case, "contact@johnstool.net") and set the destination mailbox (for example, my Gmail).
contact@johntool.net → mygmail@gmail.com

Verify your destination address.
Configure your DNS: You'll need to add a combination of MX and TXT records to your DNS for Email Routing to function properly.

- Test by sending an email to
contact@johnstool.net— it should land in your Gmail inbox.
Step-by-Step Setup for Outgoing Mail
Since Cloudflare can only forward emails but can't send them actively, you'll need a third-party mail service like Brevo.
Go to Brevo → sign up (free plan = 300 emails/day). Verify your email and phone number.
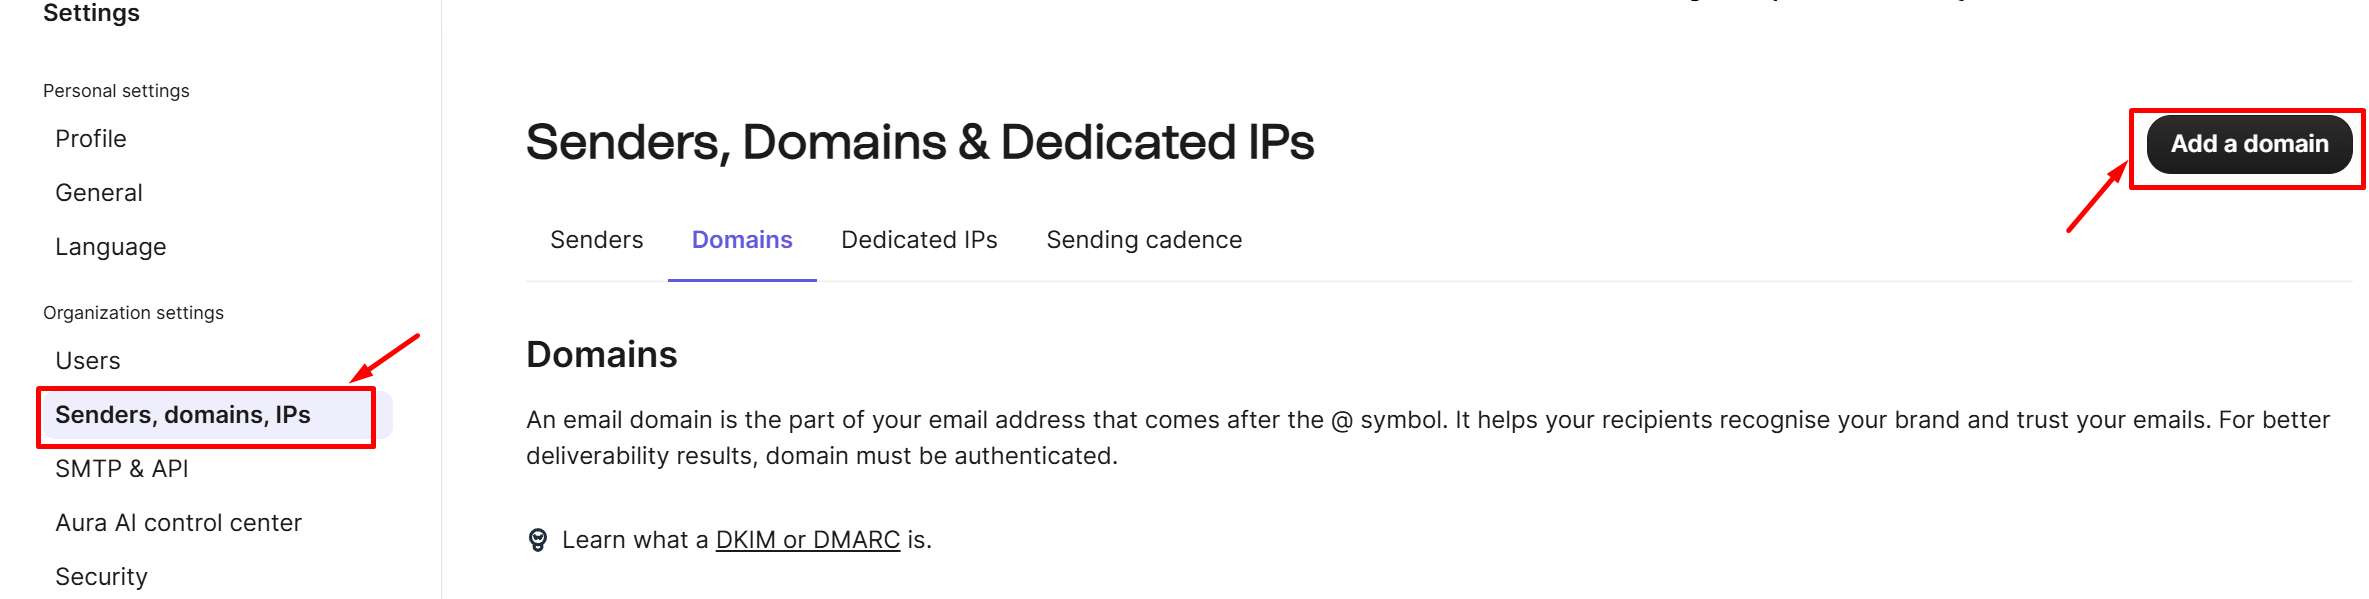
In Brevo Dashboard → Senders & IPs → Domains → Add Domain, then choose to authenticate the domain yourself.
johnstool.net

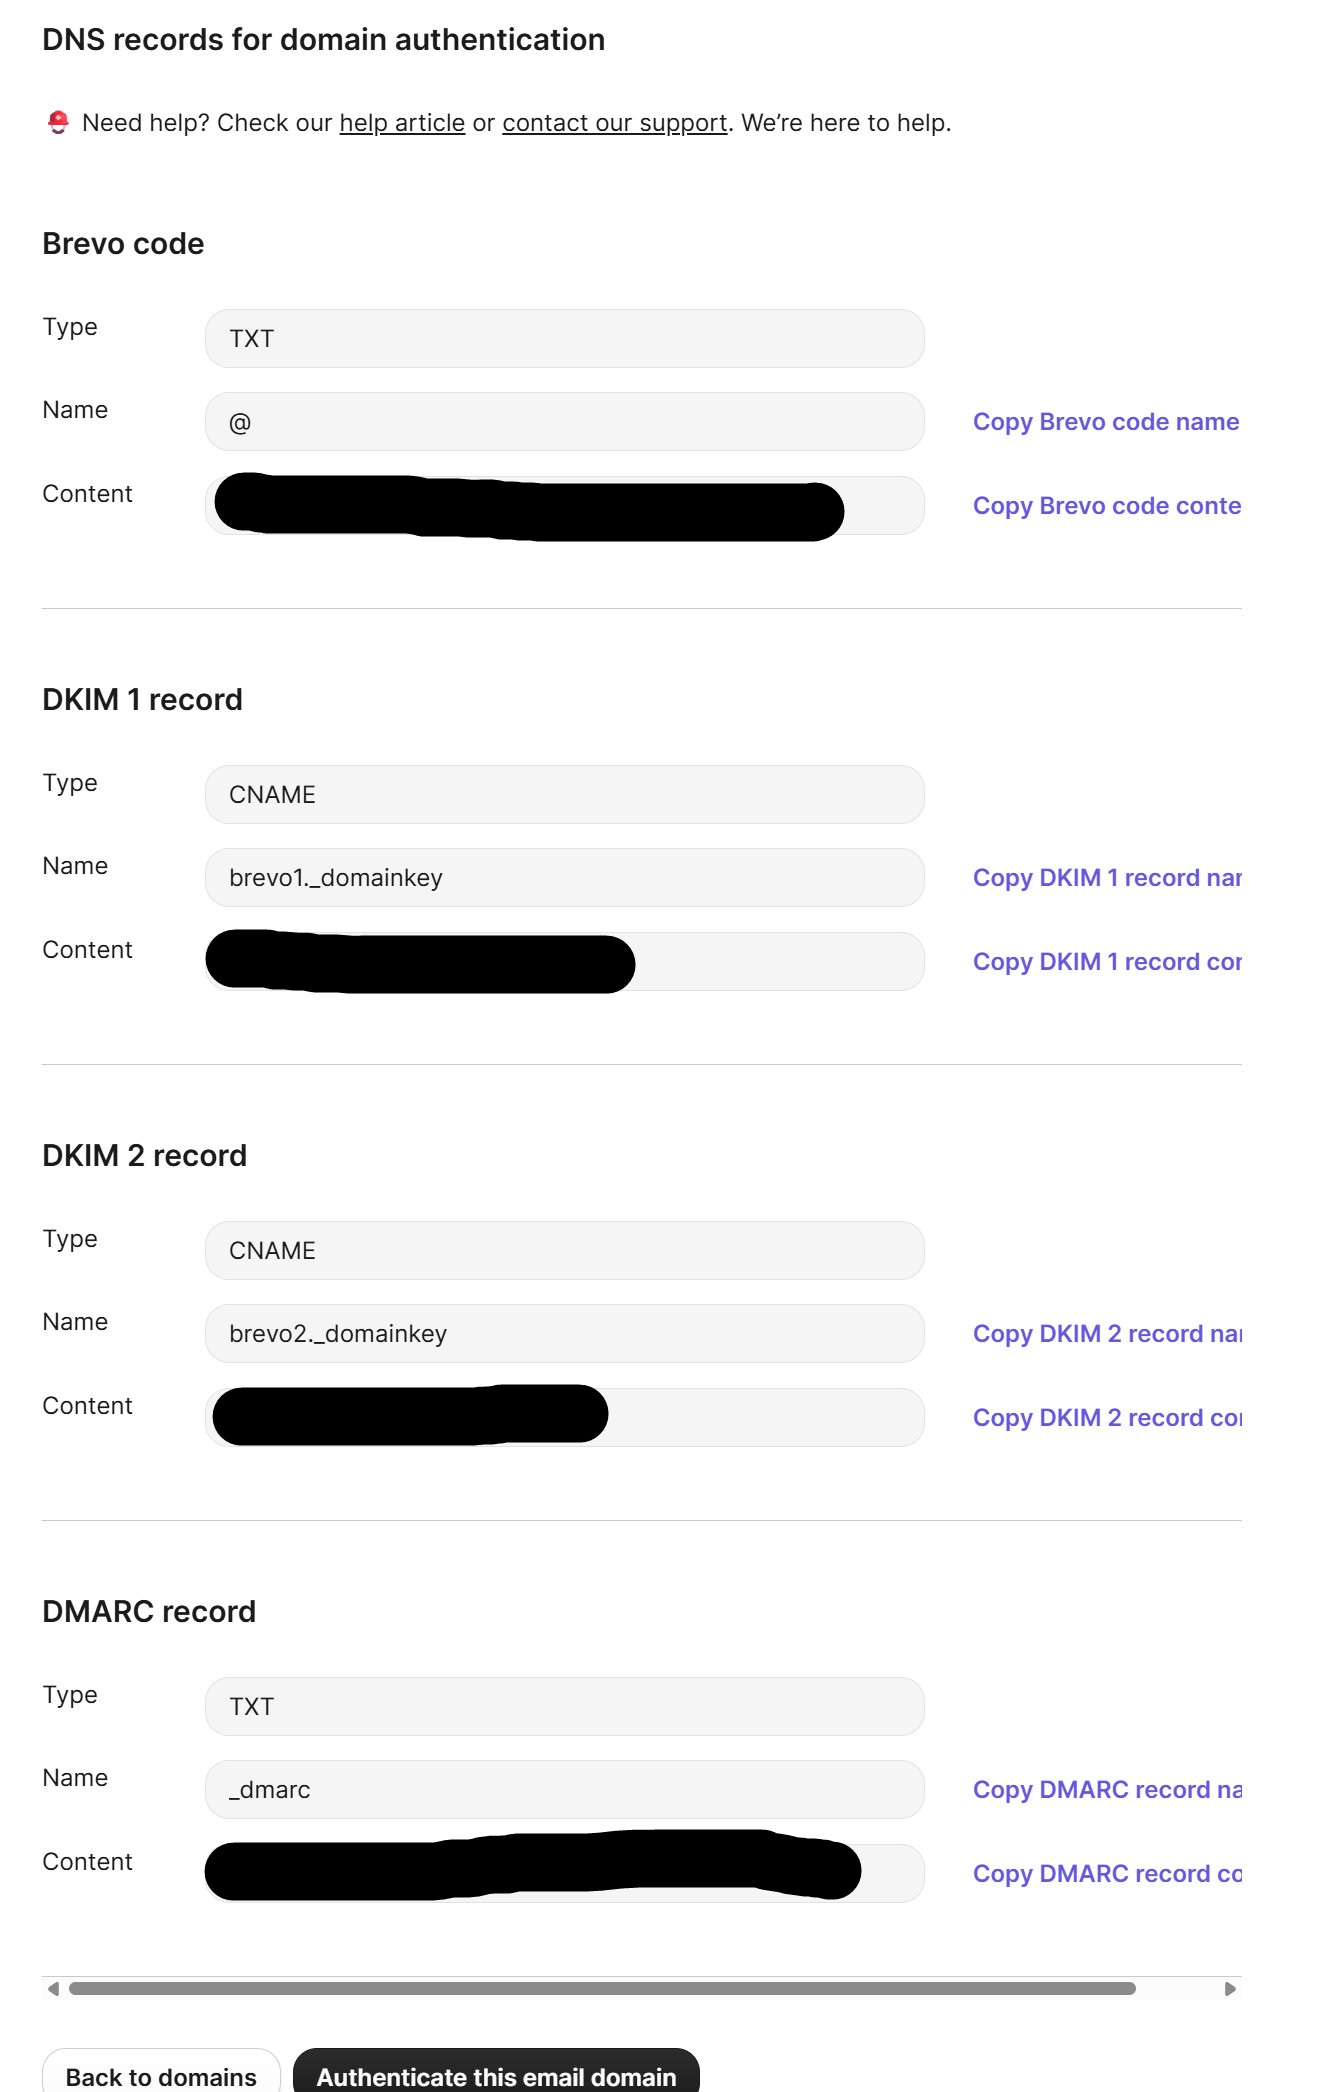
- Brevo will provide you with DNS records (Brevo code, DKIM1, DKIM2, and DMARC).
- Add these records in Cloudflare DNS. (Don't turn on proxy status for DKIM1 and DKIM2)
- Once you've added all the records, click "Authenticate this email domain" in Brevo. It takes seconds to verify if everything is configured correctly.
Step-by-Step Configure Gmail "Send as"
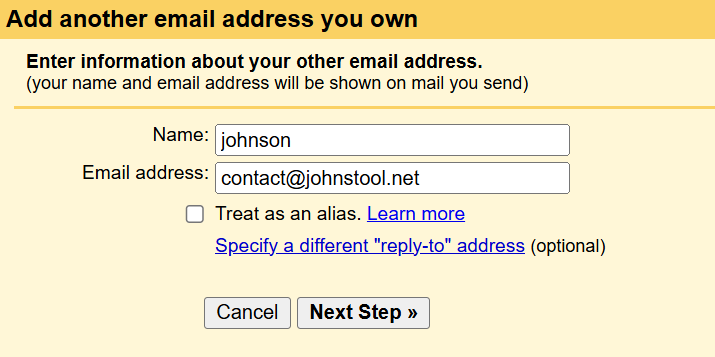
- Open Gmail → Settings → See all settings, go to Accounts and Import tab, under Send mail as, click Add another email address,
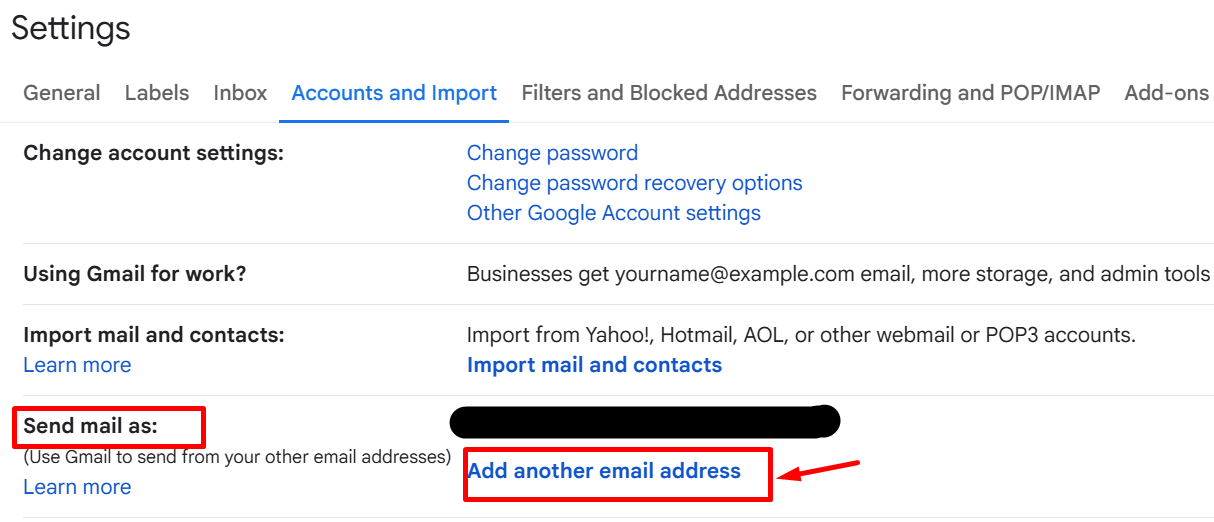
then enter (in my case):
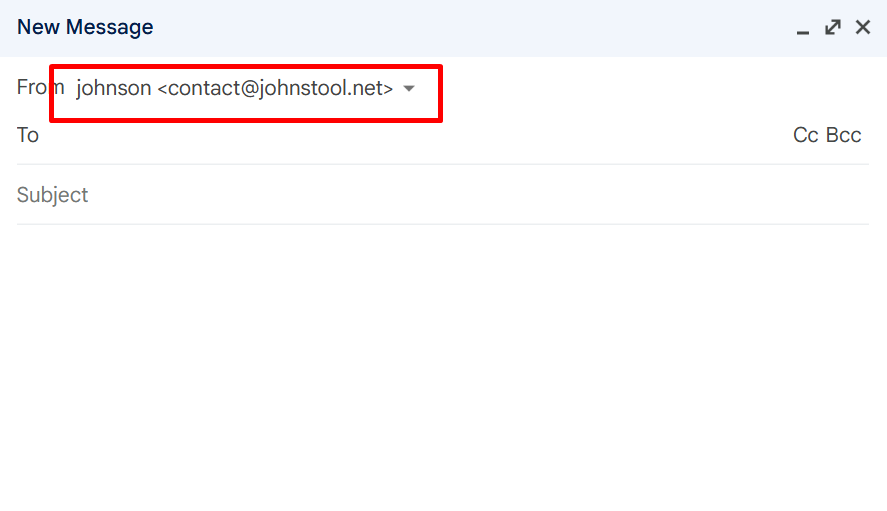
- Name: johnson
- Email:
contact@johnstool.net - Uncheck Treat as alias if you want to keep Gmail and support mail separate.
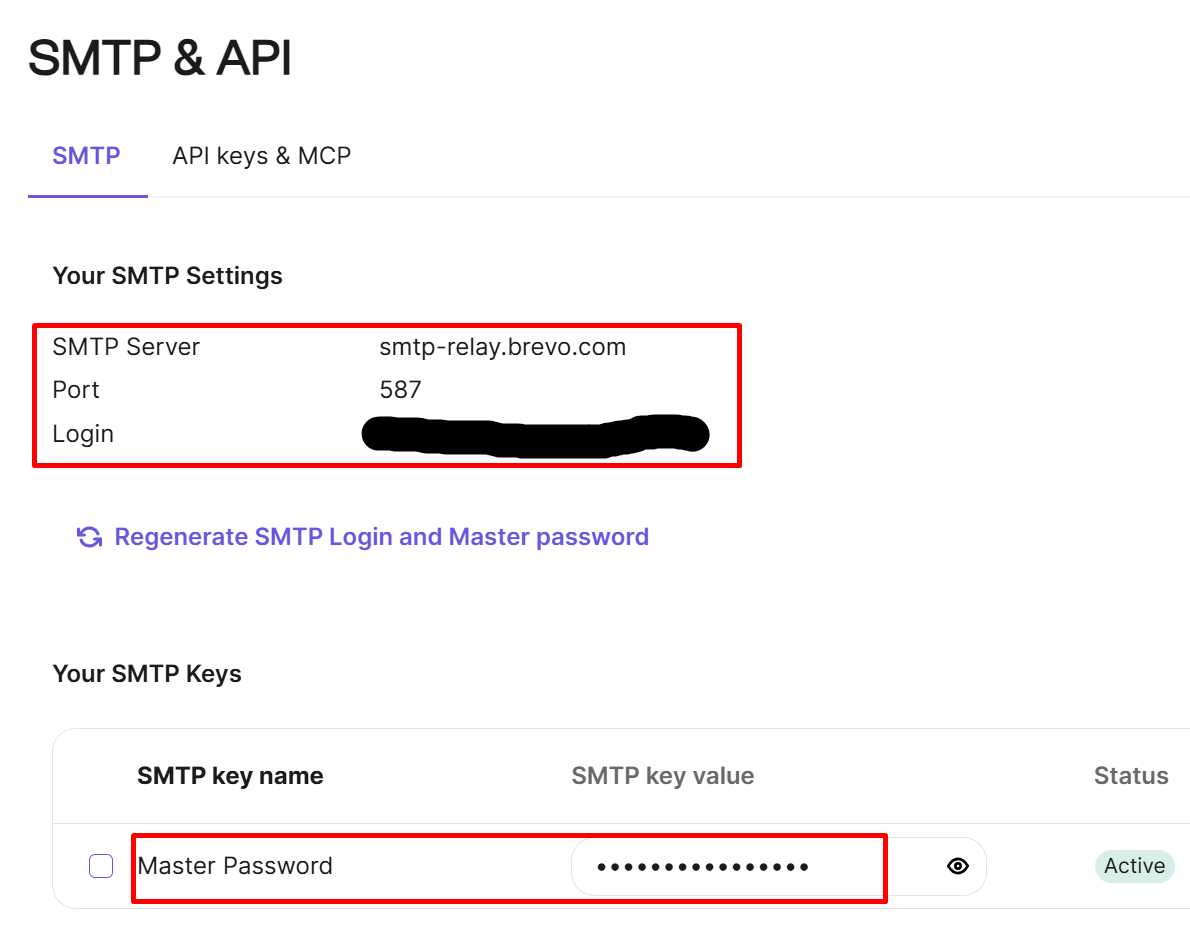
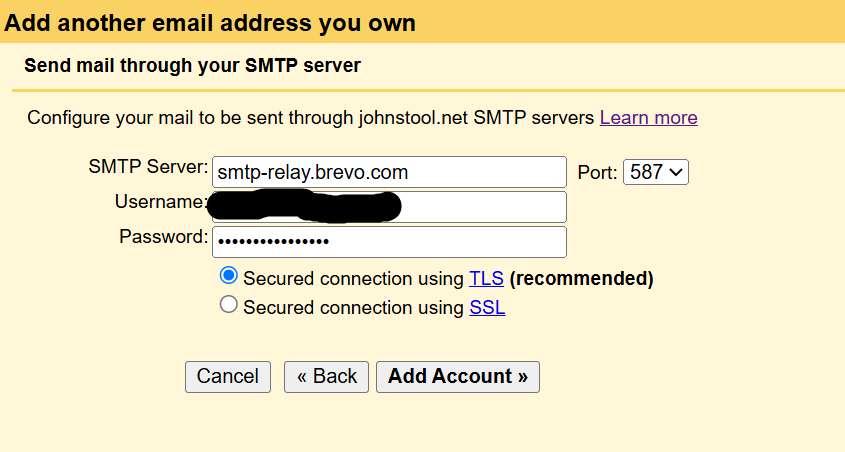
SMTP Settings (you can get this information from Brevo → Settings → SMTP & API):
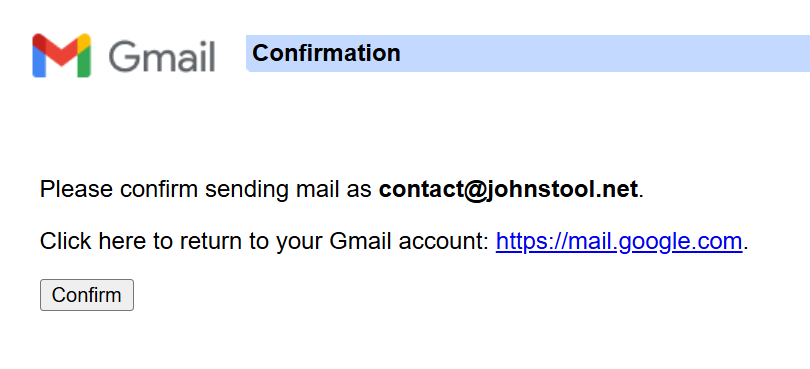
Gmail will send a verification code to contact@johnstool.net.
- Thanks to Cloudflare routing, it lands in your Gmail inbox.
- Click the link and confirm.
- Now open Gmail, go to Compose, choose
From:contact@johnstool.netand send to another email address. After sending the email, check the recipient's inbox - it should show as coming from your domain, without "via Gmail" notation.
Conclusion
All incoming mail → Cloudflare forwards to Gmail.
All outgoing mail → Gmail uses Brevo SMTP, authenticated with SPF/DKIM.
The limitation of this setup is that Brevo has a daily sending limit. The free plan only allows 300 emails per day. If you need more, you can upgrade to other plans:

If your domain is not hosted on Cloudflare, you can check if your domain registrar provides email forwarding services. If they do, you can use them directly; if not, you might consider migrating your domain to Cloudflare.