- Published on
Building Static Blog Websites with Hexo and Jekyll on Ubuntu
- Authors

- Name
- Johnson Chang
A static blog refers to a blog website with only static resources, including HTML, images, etc., without databases or PHP dynamic languages.
Static blogs focus on: simplicity and speed. As long as you know how to use markdown notes, you can quickly build a personal blog using templates.
This article mainly introduces two frameworks for creating static blogs: Hexo and Jekyll:
- Hexo is developed based on Node.js, if you're familiar with JavaScript, you can quickly get started
- Jekyll is developed based on Ruby
Apart from the differences in development languages, their usage habits and community resources are similar. It's recommended to choose based on your familiarity with programming languages.
Hexo Installation and Usage
1. Install Node.js
Visit the Node.js official website Node.js — Download Node.js® (nodejs.org)
First install nvm, then use it to install Node.js:
curl -o- https://raw.githubusercontent.com/nvm-sh/nvm/v0.39.7/install.sh | bash
After successful installation, use nvm to install Node.js version v18.19.1:
nvm install 18
## Output version number to check if installation is successful
node -v
npm -v
The above node is the main program of Node.js, and npm is its package management tool, similar to the role of apt in Ubuntu. However, apt is used to download, install, and manage applications under Ubuntu, while npm is used to download, install, and manage libraries in Node.js.
2. Install Hexo and Use It
### Install hexo scaffold command
npm install -g hexo-cli
### Hexo project initialization
hexo init
### Create new blog post
hexo new "Article Title"
### Compile blog posts into HTML output files
hexo generate
### Start hexo built-in server to view effects
hexo server
After starting the hexo built-in service, you can view the website effect at http://localhost:4000/.
3. Hexo Blog Templates
On the official website Themes | Hexo, you can see various templates. Choose your favorite template and download it to the themes/ directory of your current Hexo project. Then specify the template name to use in Hexo's configuration file _config.yml, for example, using the aircloud template:
theme: aircloud
After completing the template settings, your blog will present the corresponding visual effects, which is very convenient.
4. Using Hexo on Ubuntu
After using the "hexo generate" command, an export folder /public/ will be generated under the Hexo project file, which contains HTML folders converted from markdown format. Import the entire public directory to Ubuntu's /var/www/ directory using git commands, then configure the Nginx server on Ubuntu to use the public directory as the site's root directory.
Jekyll Installation and Usage
Jekyll is a static website generator that converts plain text into static websites and blogs, such as converting your markdown notes into blogs. One of the main benefits of using Jekyll is that since it generates static websites, no databases or other backend components are needed, making websites easier to deploy and maintain.
To download and install the latest version of Ruby, we use rvm to install Ruby instead of Ubuntu's default apt command.
Steps: First install rvm, use rvm to install ruby, then use gem to install jekyll and bundler.
1. Install rvm
curl -sSL https://rvm.io/mpapis.asc | gpg --import -
curl -sSL https://rvm.io/pkuczynski.asc | gpg --import -
Download rvm installation package:
curl -sSL https://get.rvm.io | bash -s stable
Make the terminal effective:
source /home/tfzhang/.rvm/scripts/rvm
Note that the above home directory needs to be adjusted according to your own system directory.
Install the latest version of Ruby
Install ruby:
rvm install ruby
After installation, check if ruby and rubygems are correctly installed:
ruby -v
gem -v
If version numbers are output, the installation is successful.
Install jekyll and bundler:
gem install jekyll bundler
After successful installation, create a new jekyll site:
jekyll new my-new-site
Enter the newly created my-new-site, then start the jekyll server:
cd my-new-site && jekyll serve
When running the server, you might get an error:
could not find gem 'minima (~>2.5) in locally installed gems.'
You need to install minima:
gem install minima
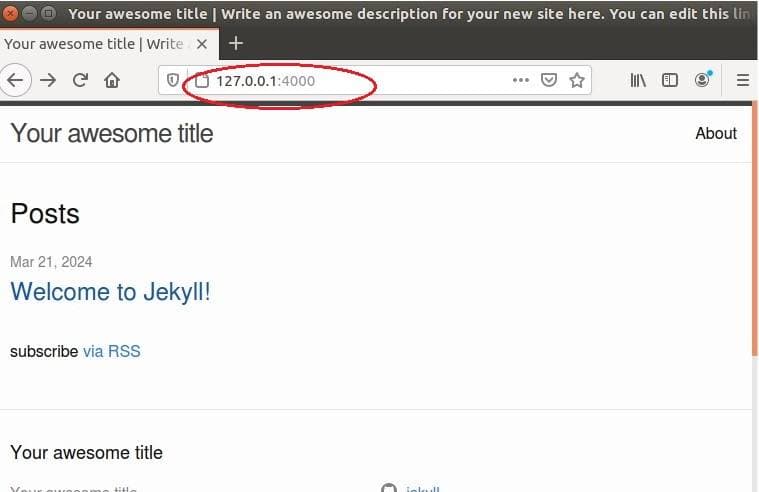
After installation is complete, run: jekyll server
This will start a development server serving your site on a port of your local host (usually http://localhost:4000/). Now you can visit this address through your browser to view your site.